Site overlay
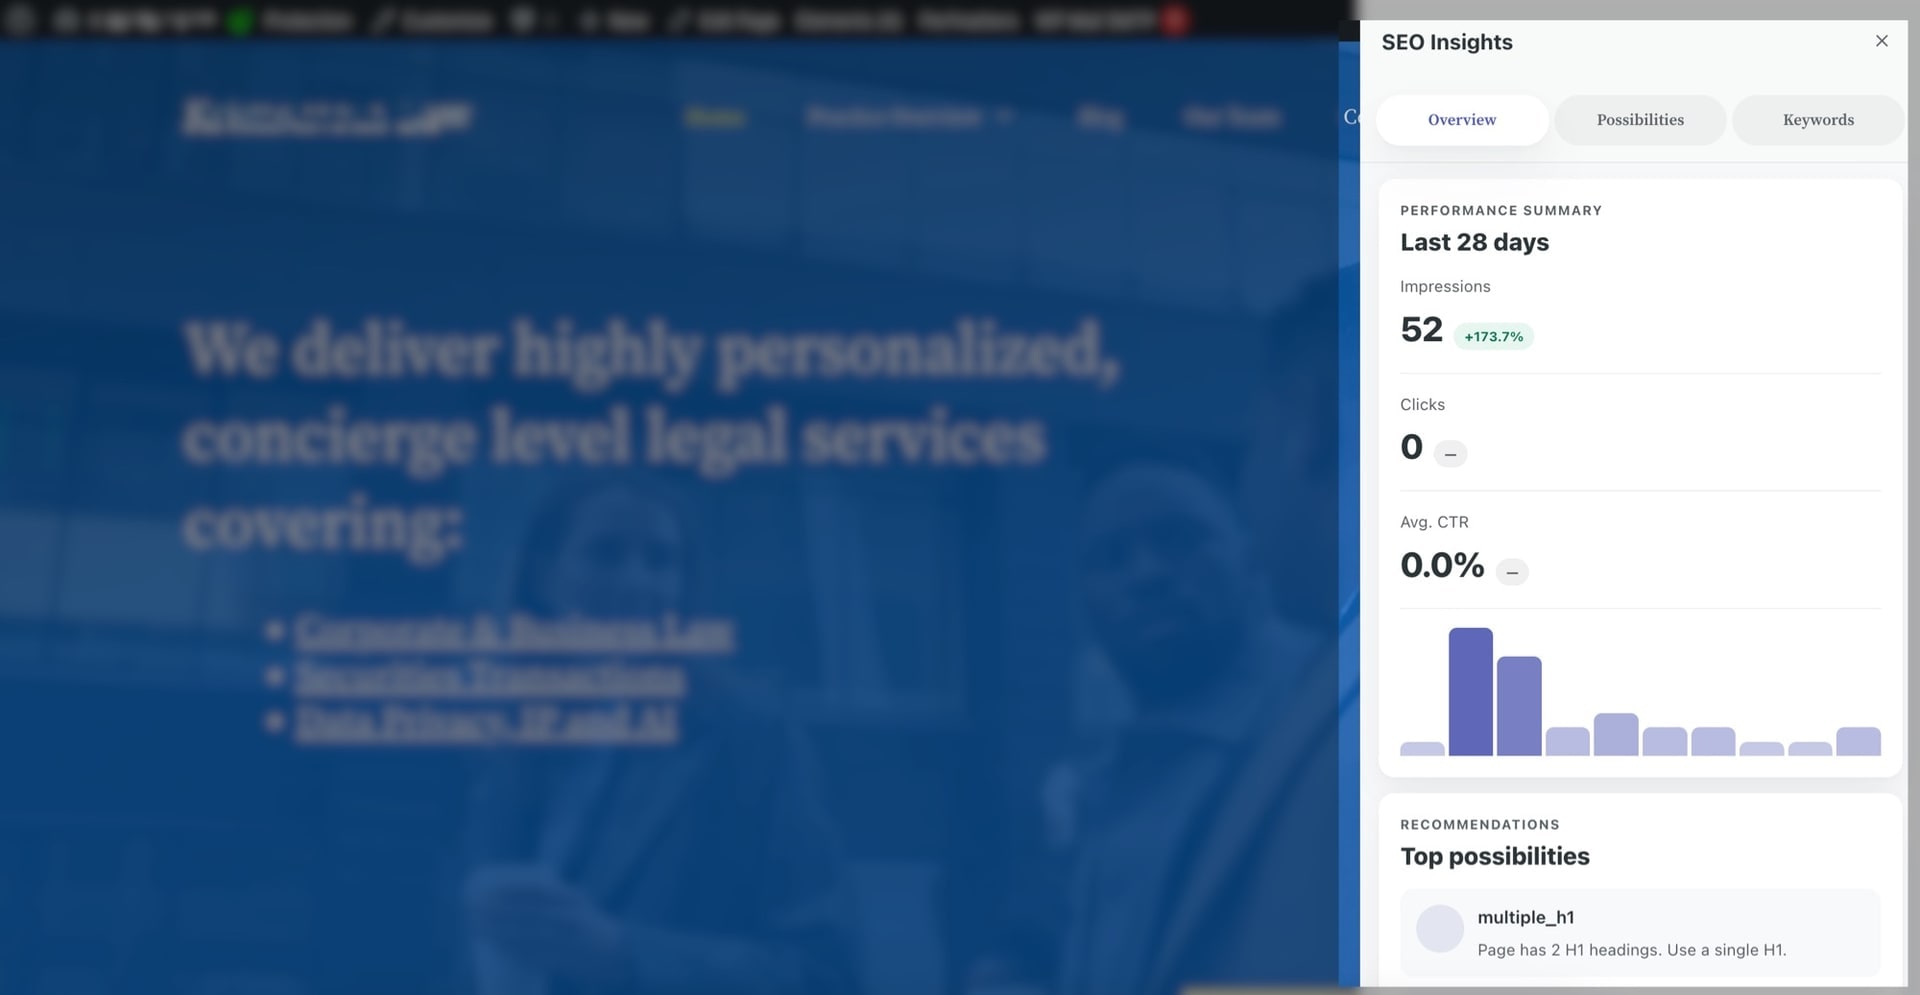
Site overlay lets you keep SEO Perception context at your fingertips while you browse your own live website. After a one-time setup, you can open a lightweight overlay on the page you are viewing so you do not have to constantly switch tabs between your site and the app for the same URL.
If you have used browser extensions or legacy SERP overlays to inspect a page, Site overlay is different: it shows stored Search Console and crawl context for URLs you own, tied to your SEO Perception workspace—not third-party backlink or SERP chrome on arbitrary sites. For the product pitch, see the Site Overlay feature page; this guide is the install and how-to.
Who can use it
Site overlay is available on Starter and other paid plans. It is not included on the Free plan. For limits and features, see Tiers, pages, and data retention.
How it works (high level)
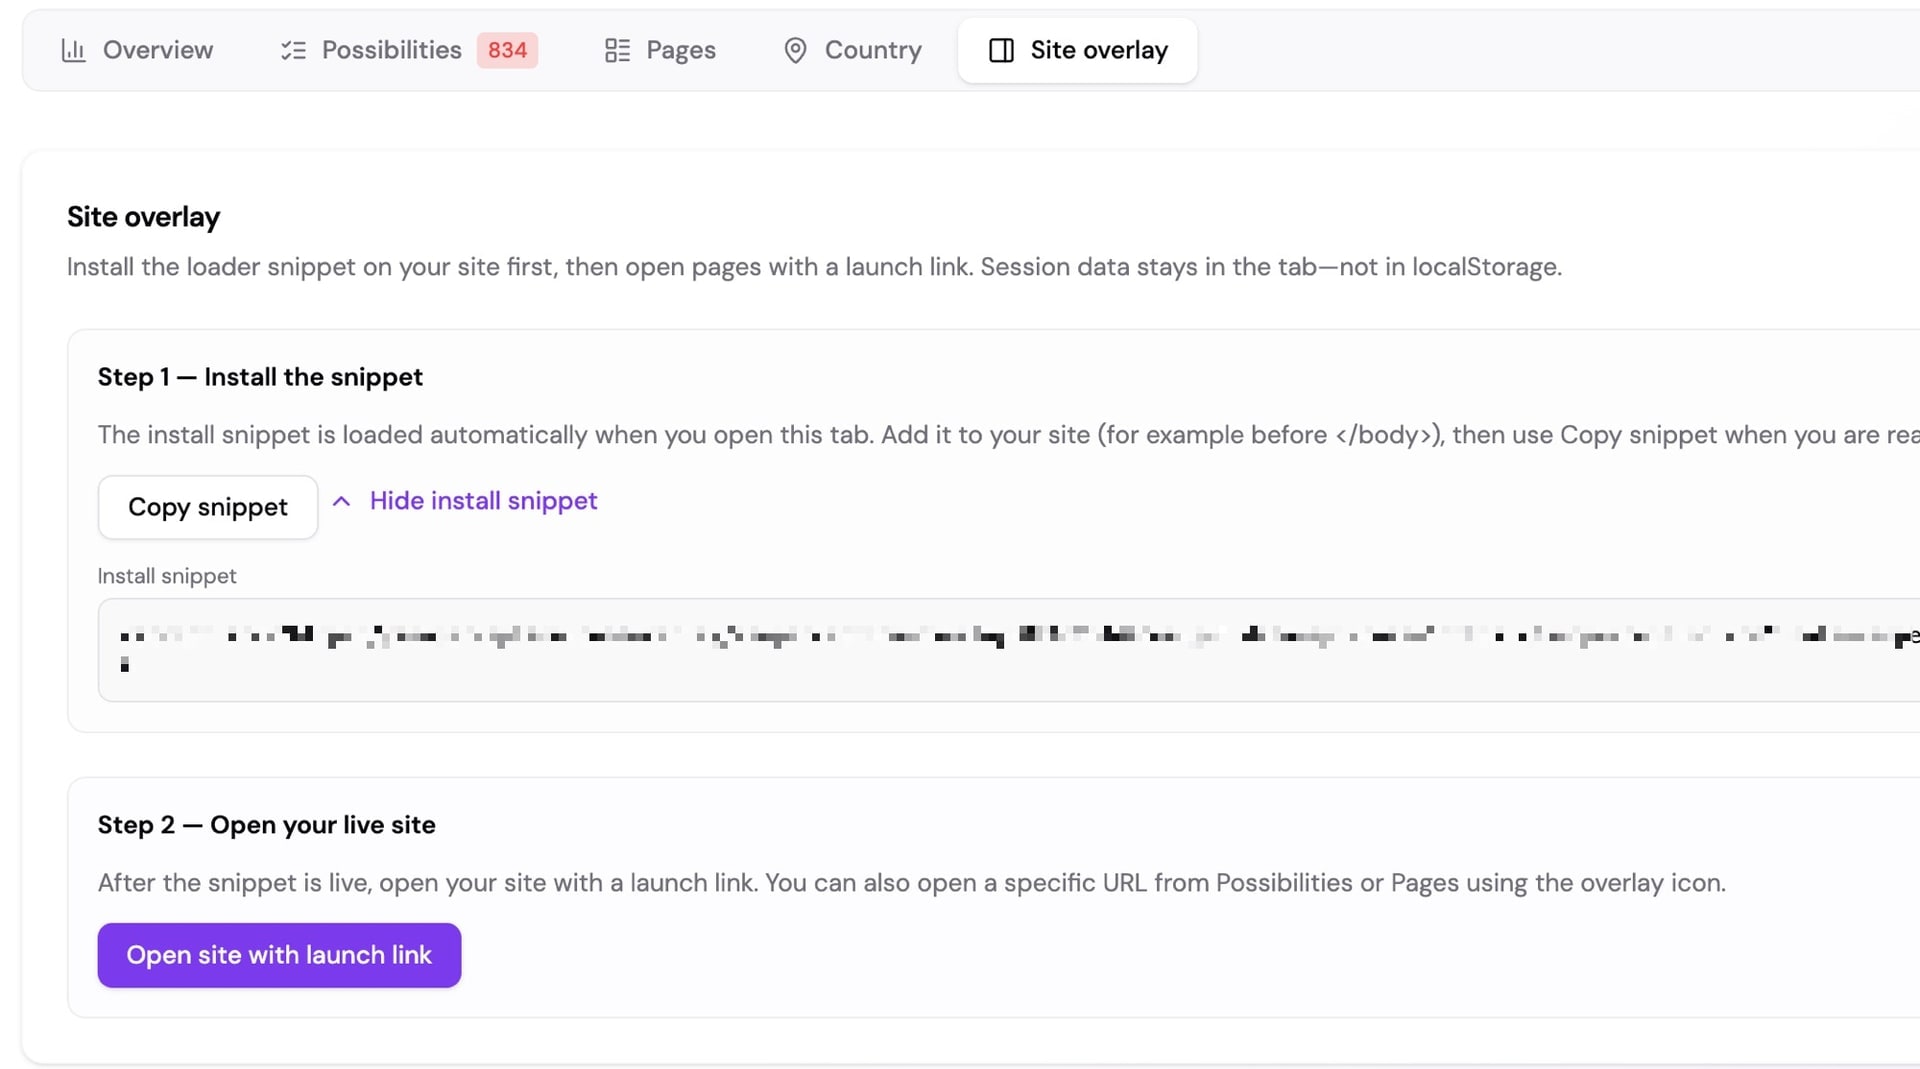
- Install a small snippet on your site (copy it from the Site overlay tab in the website workspace, or from the ⋯ menu next to a website on the dashboard). Platform-specific steps are in Installing the snippet below.
- Visit your live site in the browser, on a URL you want to look at.
- In SEO Perception, open the same website’s workspace and use the Site overlay tab: follow the on-screen steps and use Launch when you are ready.
Privacy and trust
The snippet runs in your visitors’ browsers only when you use the feature as the site owner testing your property; it is not a replacement for your normal analytics. Your SEO Perception login and permissions still apply. Follow the copy-ready text in the app only—do not paste passwords or API secrets into the snippet.
Search Console and crawling
Overlay does not replace connecting Google Search Console or our crawl of your URLs. It is a convenience layer for viewing context on the live page. Charts, possibilities, and stored metrics still live in the main workspace—see What you see on a website.
Installing the snippet
Copy the snippet from your dashboard (⋯ → Site overlay → Copy snippet) or from the Site overlay tab. Paste it once, just before the closing </body> tag, on every page. Visitors see nothing unless you launch the overlay yourself.
Before you start
- Open SEO Perception → Dashboard.
-
On the website row, click the three-dot (
...) menu and choose Site overlay. - Click Copy snippet. Keep the dashboard tab open—you will paste this snippet into your site below.
Rule of thumb: paste the snippet once, just before the closing </body> tag, on every page. Most platforms have a built-in field for exactly that. The snippet is safe to leave in place—your site visitors will not see anything unless you launch the overlay yourself.
WordPress (with a plugin) — recommended
If you are not comfortable editing theme files, use the free WPCode – Insert Headers and Footers plugin.
- In WordPress admin: Plugins → Add New. Search for Insert Headers and Footers and install/activate the WPCode version.
- Go to Code Snippets → Header & Footer.
- Paste the SEO Perception snippet into the Footer field.
- Click Save Changes.
If you use a caching plugin (WP Rocket, W3 Total Cache, etc.), purge the page cache so the change goes live for visitors.
WordPress (child theme functions.php)
Prefer code? Add the snippet through the wp_footer hook in your child theme’s functions.php so it survives theme updates.
add_action( 'wp_footer', 'seoperception_overlay_snippet' );

function seoperception_overlay_snippet() {
?>
<!-- paste the SEO Perception Site overlay snippet on the next line -->
<script src="https://seoperception.com/overlay/site-loader.js" data-api-base="https://seoperception.com" data-seoperception-overlay="v1" async></script>
<?php
}
Replace the example <script> line with the exact snippet you copied from your dashboard (it includes your site’s identifier). Save the file and clear any caching plugin.
Shopify
- Shopify admin → Online Store → Themes.
- On your active theme, click ... → Edit code.
- Open Layout →
theme.liquid. - Press Cmd/Ctrl + F, search for
</body>, and paste the snippet on a new line directly above it. - Click Save.
Reference: Shopify Help Center — Editing theme code.
Wix
- Open your Site Dashboard.
- Go to Settings and choose Custom Code (under Development & integrations).
- Click + Add Custom Code.
- Paste the snippet into the code box and give it a name like SEO Perception overlay.
- Set Add Code to Pages: All pages and Place Code in: Body – end.
- Click Apply.
Custom Code requires a published Wix site with a connected domain. Reference: Wix Help Center — Embedding Custom Code on Your Site.
Squarespace
- In your Squarespace site, open Settings → Developer Tools → Code Injection (on some 7.1 sites this lives under Website Tools → Code Injection).
- Paste the snippet into the Footer field.
- Click Save.
Code Injection is available on the Core, Plus, Advanced, Business, and Commerce plans. It is not available on the Personal plan. Reference: Squarespace Help Center — Using code injection.
Webflow
- In your project, open Site Settings → Custom code.
- Paste the snippet inside Footer Code.
- Click Save changes.
- Click Publish on your site so the change goes live.
Reference: Webflow Help Center — Custom code in head and body tags.
Joomla
The simplest path is to install a small Custom Code / Headers & Footers extension from the official Joomla Extensions Directory and paste the snippet into its Footer field. That avoids editing template files and survives Joomla updates.
If you prefer a no-extension approach, ask your developer to register the snippet from a small system plugin using the Web Asset Manager (onBeforeCompileHead); the official Joomla! Documentation covers system plugin structure.
HubSpot
- In your HubSpot account, click the settings icon in the top navigation.
- In the left sidebar, go to Content → Pages.
- From the Choose a domain to edit its settings dropdown, pick the domain (or Default settings for all domains to apply everywhere).
- Scroll to Site Footer HTML. If the field is greyed out, click Override default settings.
- Paste the snippet into Site Footer HTML and click Save.
Reference: HubSpot Knowledge Base — Use code snippets with HubSpot content.
Google Tag Manager
If your site already uses GTM, you can deploy the snippet without touching the site code.
- In your GTM container, go to Tags → New and choose Custom HTML.
- Paste the SEO Perception snippet into the HTML field (keep the surrounding
<script>tag). - Open Triggering and select the built-in All Pages trigger.
- Click Save, then Submit and Publish the container.
Note: GTM Custom HTML tags are appended near the end of <body>, which is what we want. Reference: Google Tag Manager Help — Custom tags.
Plain HTML or static site
- Open the layout/template that produces every page (for example a shared
layout.html, a base partial, or your generator’s template). - Paste the snippet on a new line just before the closing
</body>tag. - Re-deploy or upload the updated files.
Verify the snippet is loading
- Open your live site in a fresh browser tab.
- Open DevTools (right-click → Inspect) and look at the Network tab.
- Reload the page. You should see a request to
/overlay/site-loader.json the SEO Perception domain return200.
If you do not see the request, check the troubleshooting tips below, then return to your dashboard and use Site overlay → Copy snippet again to make sure the snippet is intact.
Troubleshooting
- Snippet not in the page source. Confirm you pasted into a global footer field (not a single page or post), then purge any caching/CDN layer (Cloudflare, WP Rocket, Shopify CDN, etc.).
- Code-strip plugins. Some security plugins or HTML minifiers strip
<script>tags from custom fields. Allow-list the SEO Perception domain or paste via WPCode (WordPress) instead. - Strict Content Security Policy. If your site sets a custom CSP, allow the SEO Perception domain in
script-srcandconnect-src. - Subdomains and staging. Add the snippet only on the production property you connected in SEO Perception. Staging copies will load the loader but cannot launch the overlay against your account.
- Nothing happens when I open my site. The overlay does not appear automatically—you launch it from the website workspace in SEO Perception. See Site overlay.